
Ingredients
Method
Step 1: Prepare Your Pan and Preheat Your Oven
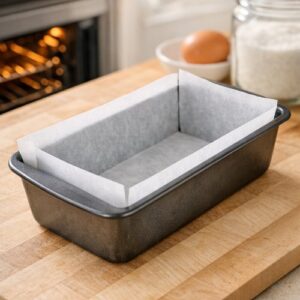
- Start by preheating your oven to 350 degrees Fahrenheit. While it's coming to temperature, grab a 9x5-inch loaf pan and line the bottom and two long sides with parchment paper—let it overhang slightly for easy removal later. This prevents sticking and ensures your edges brown perfectly without ever burning. Grease the parchment paper lightly with cooking spray or butter for extra insurance. If you're not using parchment, grease your pan generously on all interior surfaces.
Step 2: Mash Your Bananas and Measure Correctly
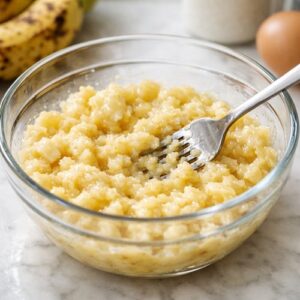
- Here's where precision matters: peel your three to four overripe bananas into a medium bowl. Using a fork, mash them thoroughly until you have very few lumps remaining—some small bits are actually fine and add nice texture. Measure out exactly 1½ cups of mashed banana by spooning it into your measuring cup and leveling off the top. This is critical because too much banana liquid can create a gummy crumb, while too little won't develop that signature moist texture. Place your measured banana into a large mixing bowl.
Step 3: Create Your Wet Base
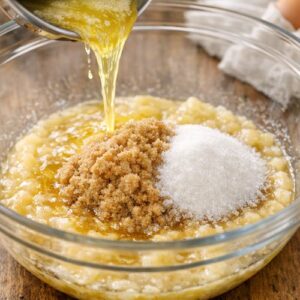
- Pour your melted, slightly cooled butter into the bowl with the mashed bananas. Add both your light brown sugar and granulated sugar directly on top. Using an electric mixer on medium speed (or a whisk if mixing by hand), combine these ingredients for about one minute until well incorporated. The mixture should look like thick wet sand. Next, crack both eggs into the mixture one at a time, mixing on medium speed for about 30 seconds after each egg addition to ensure proper emulsification. This creates a stable base that holds everything together beautifully.
Step 4: Fold in the Yogurt and Vanilla
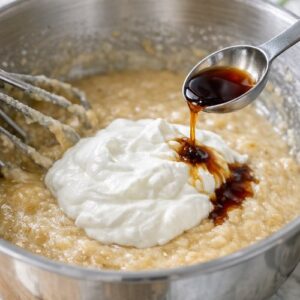
- Measure your plain Greek yogurt and add it to the mixture along with your vanilla extract. Mix on low speed for about one minute, just until the yogurt is fully incorporated and the batter looks creamy. Don't overmix at this point—you're looking for smooth consistency, not whipped texture. This is where that tangy richness comes in, keeping your bread incredibly moist for days.
Step 5: Combine All Dry Ingredients Separately
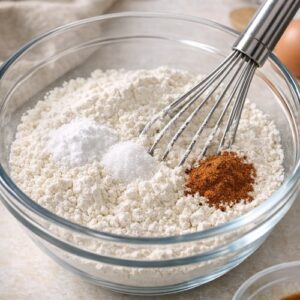
- In a separate medium bowl, whisk together your flour, baking soda, salt, and optional cinnamon. Whisking the dry ingredients together ensures the baking soda distributes evenly, which means you won't get any pockets of metallic-tasting bitterness that sometimes appears in banana bread. This professional step makes the difference between good and absolutely perfect.
Step 6: Combine Wet and Dry Ingredients
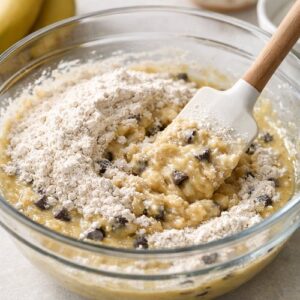
- Pour your dry ingredient mixture into the wet ingredients and fold everything together gently using a spatula. Mix just until no visible streaks of flour remain—this is critical. Overmixing develops gluten, which creates a tough, dense crumb instead of the tender texture we're after. Fold until you see a unified batter, about 20-30 gentle stirs.
Step 7: Fold in the Chocolate Chips
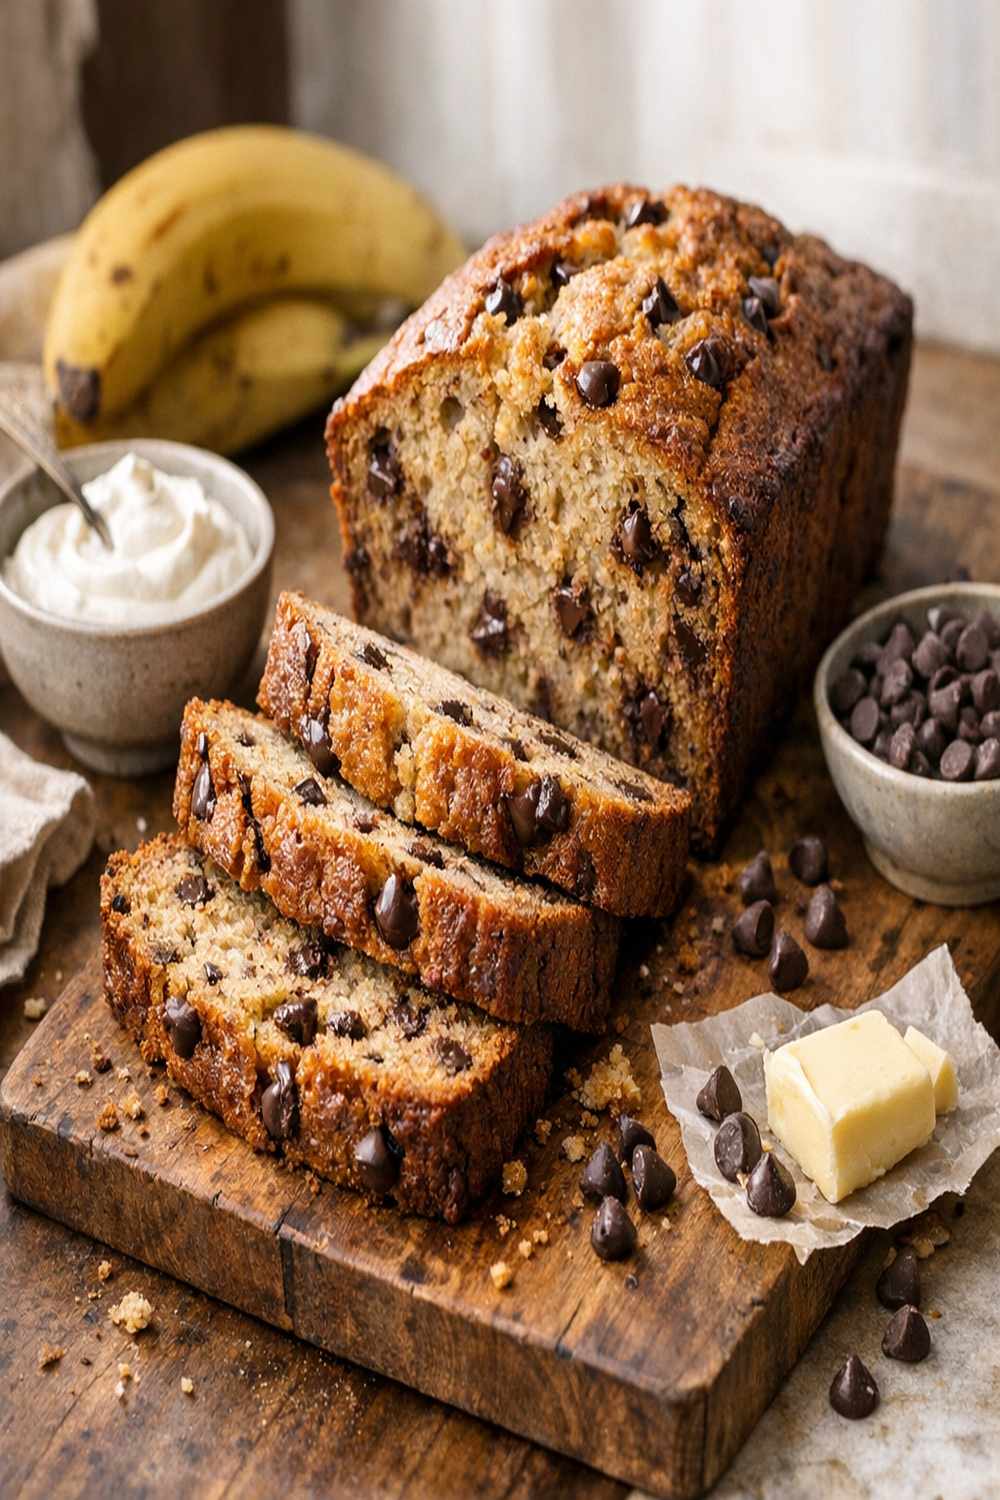
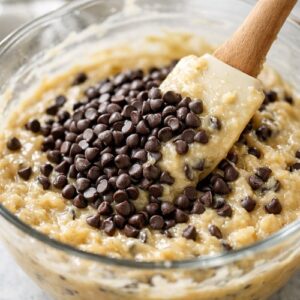
- Reserve a small handful of your mini chocolate chips (about 2 tablespoons) for the top. Fold the remaining ¾ cup chocolate chips into your batter using just 5-6 gentle folds. These little pockets of chocolate are what make each slice special. They'll melt slightly during baking, creating those gorgeous ribbons throughout.
Step 8: Transfer to Pan and Top
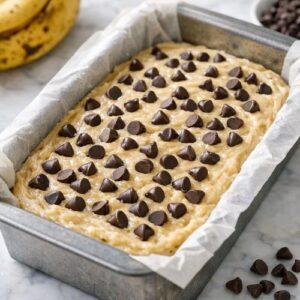
- Pour your batter into your prepared loaf pan, smoothing the top gently with a spatula. Sprinkle your reserved chocolate chips evenly across the top—they'll sink slightly as the bread rises but create beautiful little flavor bursts in every slice. The top layer of chips also creates an appealing visual that signals "homemade goodness" to anyone lucky enough to be eating this.
Step 9: Bake Until Golden and Set
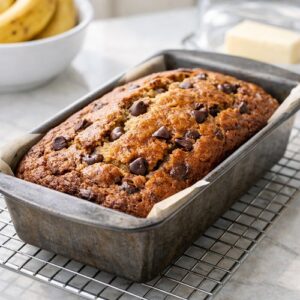
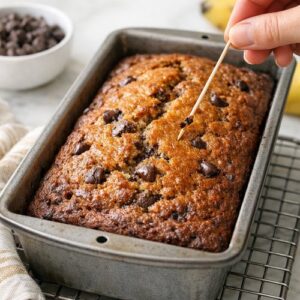
- Bake for 50-55 minutes at 350 degrees Fahrenheit, until the top is deep golden brown and a toothpick inserted into the center comes out with just a few moist crumbs clinging to it. Don't pull it out too early just because you see browning on top—the inside needs time to set. If your oven runs hot or the top is browning too quickly, tent loosely with aluminum foil for the final 10 minutes. You want that golden-brown exterior with a tender, moist interior.
Step 10: Cool Properly for Best Results
- Remove your banana bread from the oven and let it cool in the pan for exactly 15 minutes. This resting period allows the structure to set so it doesn't fall apart when you remove it. After 15 minutes, use your parchment paper overhang to lift the entire loaf out onto a wire cooling rack. Let it cool completely—at least one hour—before slicing. I know the warm bread smells absolutely incredible, but cutting it too early will create a crumbly mess instead of clean slices.