
Ingredients
Method
Step 1: Chill Your Equipment
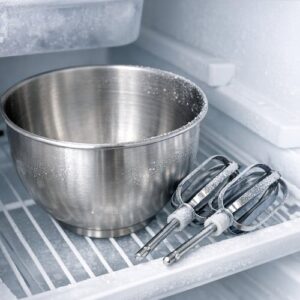
- This is the foundation step that separates successful whipped cream from a weeping puddle. Place your mixing bowl and beaters in the freezer for 10-15 minutes while you gather everything else. Cold equipment keeps the cream's fat molecules stable as you whip, creating those gorgeous stiff peaks. I learned this from my mother, who insisted that shortcuts on equipment setup guarantee failure—and she was absolutely right. Remove your heavy cream from the refrigerator at the same time; it needs to be genuinely cold (around 35°F) before you begin.
Step 2: Create the Whipped Cream Layer
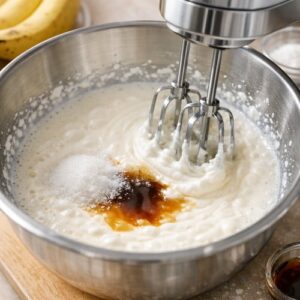
- Pour your cold heavy cream into the chilled bowl. Add the 2 tablespoons of granulated sugar and 1 teaspoon of vanilla extract. Begin beating on medium-high speed. You're looking for specific texture progression here: first you'll see it begin to thicken (about 1-2 minutes), then soft peaks will form (when you lift the beaters, the cream holds a shape but the peak folds over), then medium peaks (peaks stand taller but still have a slight bend), then stiff peaks (where peaks stand completely upright). Stop at medium-to-stiff peaks—not beyond. Over-whipping creates grainy texture and breaks the cream structure. This takes about 3-5 minutes total depending on your mixer's power. Set this aside in your mixing bowl (don't transfer it yet) and move to the next step immediately while the cream is at peak freshness.
Step 3: Prepare the Pudding Base
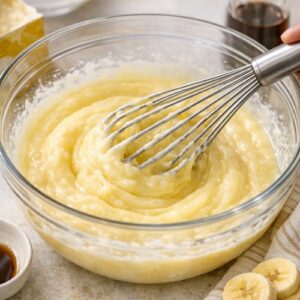
- In a separate large bowl, combine 1 cup of cold whole milk with ½ teaspoon vanilla extract and the entire 3.4-ounce box of instant pudding mix. Whisk by hand for about 60 seconds—you're looking for the mixture to thicken and become smooth. This happens faster than you'd expect; instant pudding sets almost immediately when whisked with cold liquid. The pudding should be uniform in color with no white streaks of unmixed powder remaining. Here's a critical detail: if you whisk for longer than 90 seconds, the pudding becomes too thick to fold gracefully. It'll still taste wonderful, but it's harder to incorporate the whipped cream evenly. Conversely, if you whisk for only 30 seconds, it stays too thin and won't hold its structure in the pie. Aim for that 60-second sweet spot where everything thickens into mousse-like consistency.
Step 4: The Folding Technique (This Matters)
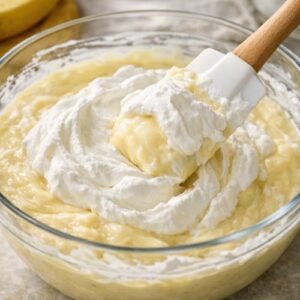
- Gently fold approximately 3 cups of your whipped cream into the pudding mixture using a rubber spatula. Folding isn't stirring—it's a specific technique that preserves the whipped cream's airiness while combining it with the pudding. Here's exactly how: cut down the center of the bowl with your spatula, sweep along the bottom, and fold the pudding mixture over the whipped cream. Rotate the bowl slightly and repeat until no white streaks of whipped cream remain visible, about 8-10 folds total. You're building what I call a "cloud-like mousse"—it should be pale, fluffy, and hold its shape when you scoop it. Do not beat or over-mix, as this deflates all your hard work whipping the cream. This folding process takes maybe 30 seconds of gentle, deliberate movement. If you rushed the whipped cream too far (to stiff peaks that are grainy), this folding step is more forgiving. If you under-whipped, the mixture stays a bit thinner but still works.
Step 5: Layer One: Foundation
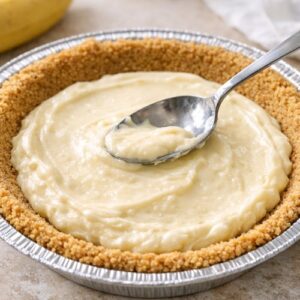
- Spoon approximately half of your pudding-cream mixture into the 9-inch prepared graham cracker crust, spreading it gently to create an even layer across the bottom. Use the back of your spatula to level it—this helps the banana layer sit evenly. The foundation layer should be about ¾-inch thick. This base layer acts as a shock absorber, preventing the bananas from settling directly against the crust (which would make it soggy) and distributing them evenly throughout the pie.
Step 6: Layer Two: Fresh Bananas
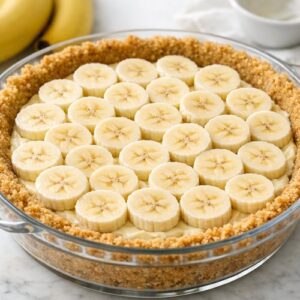
- Slice your medium bananas just moments before this step—fresh banana slices stay bright and don't oxidize brown. Arrange them in a single, slightly overlapping layer across the pudding base. You'll fit approximately 12-15 slices depending on how thin you cut them. The bananas should cover most of the surface without stacking. This single-layer approach means every slice gets a supporting cradle of pudding underneath and above, ensuring they stay suspended rather than settling or floating.
Step 7: Layer Three: Second Pudding Layer
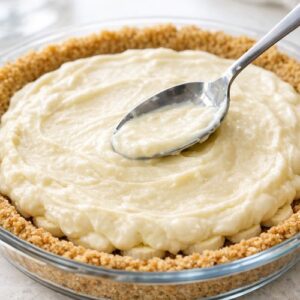
- Spoon your remaining pudding-cream mixture evenly across the banana layer, gently spreading it to seal the bananas in place. This layer should be about ½-inch thick and completely cover the banana slices. As this layer chills and sets, it creates a protective seal around the bananas, slowing oxidation and keeping them moist and protected. The result is bananas that stay fresh and bright rather than darkening throughout storage.
Step 8: The Crown: Final Whipped Cream Layer
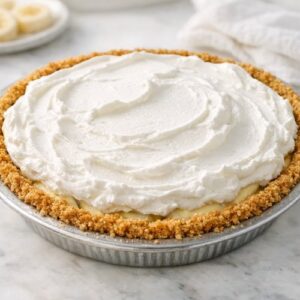
- Top the entire pie with your reserved whipped cream, creating a generous, rustic layer across the surface. You can spread it smoothly with an offset spatula for a refined look, or leave it in soft, natural peaks for a homestyle appearance. Reserve any remaining whipped cream for serving—it's wonderful as an additional dollop on individual slices. If desired, slice another fresh banana and arrange thin slices around the top perimeter just before serving for a beautiful presentation.
Step 9: Chill and Set
- Refrigerate the completed pie for at least 4 hours, but ideally overnight. During this time, the pudding mixture continues to set slightly, the layers meld together, and flavors deepen. The pie is technically ready to serve after 2 hours, but the texture becomes noticeably more stable after the full overnight chill. This makes it perfect for baking the night before a gathering.