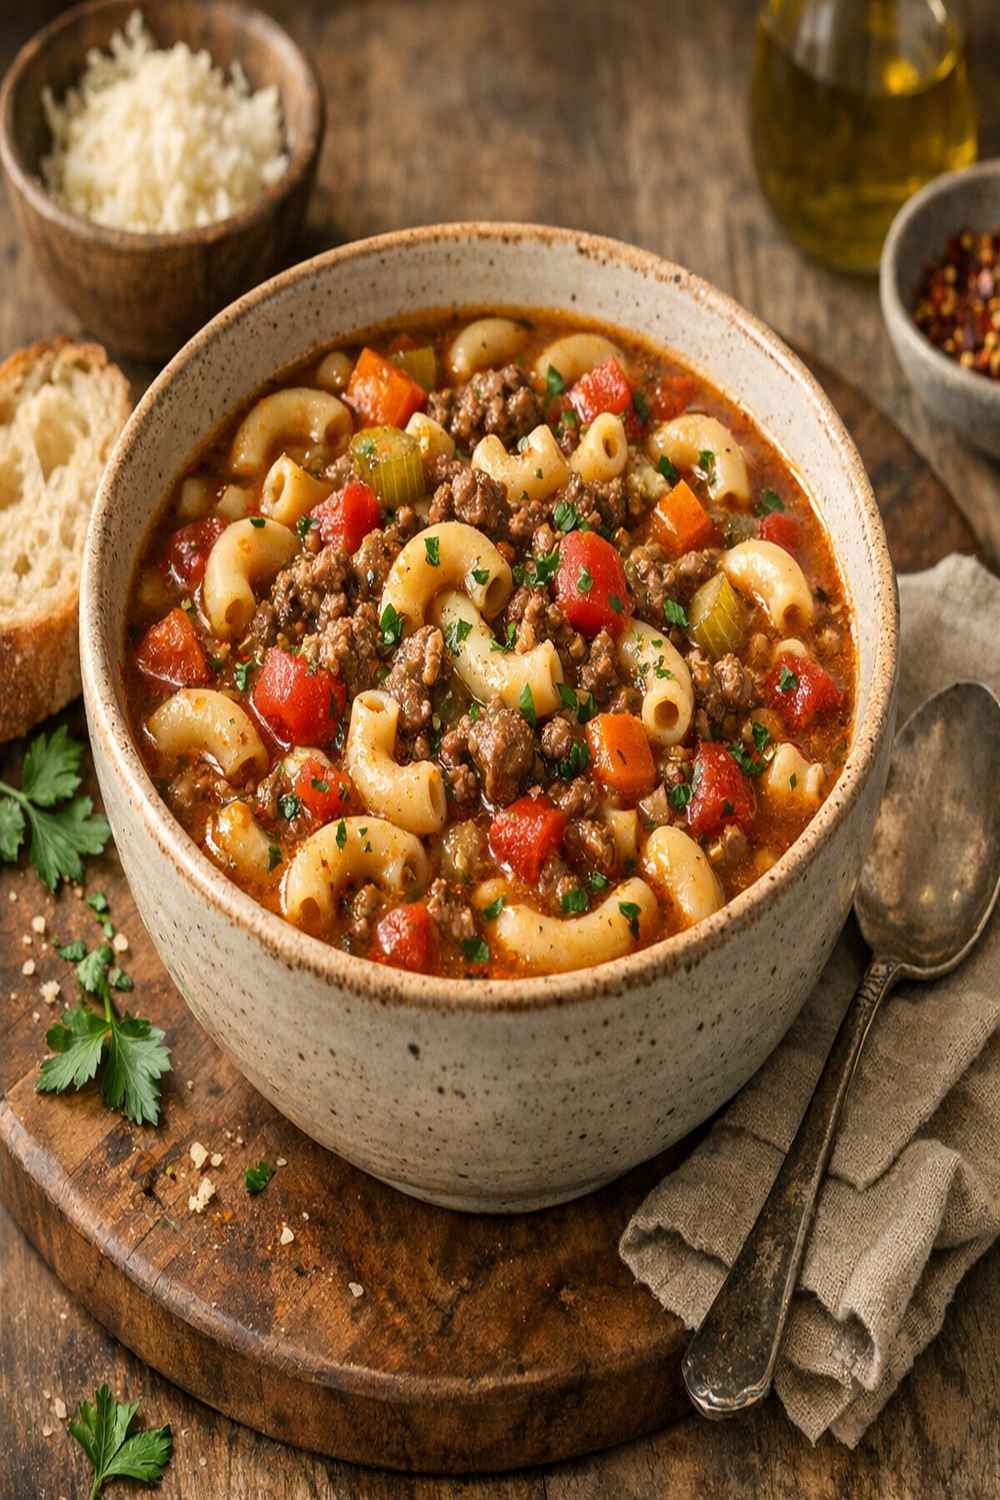

Ingredients
Method
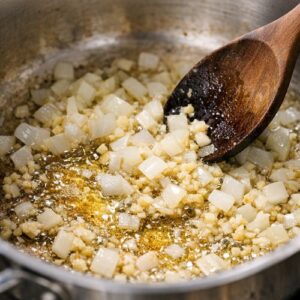
Step 1: Toast Your Onion and Garlic Foundation
- Heat that tablespoon of olive oil in a large, heavy-bottomed pot over medium heat. Let it warm for about 60 seconds—you want the oil shimmering gently, not smoking. This matters because proper heat extraction from your aromatics creates depth that expensive ingredients can't buy. Add your diced onion and cook for exactly 5 minutes, stirring every minute or so. You're looking for the onion to turn from opaque white to translucent and golden at the edges. Don't rush this step by turning up the heat; medium temperature allows the onion's natural sugars to caramelize slightly without burning. Once your onion is perfectly soft, add your minced garlic and cook for just 60 seconds, stirring constantly. Fresh garlic burns easily, so we're not looking for golden color here—just until fragrant. The moment you smell that distinctive garlic aroma filling your kitchen, we move to the next step.
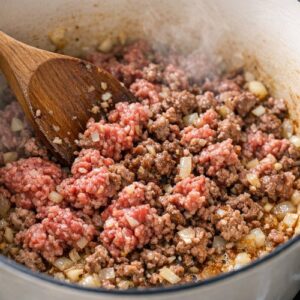
Step 2: Brown the Ground Beef (The Most Important Flavor Step)
- Add your pound of ground beef to the pot with the cooked onion and garlic. Break it up into small pieces as it cooks—this increases surface area and creates more browning, which means more flavor. Don't let it sit in clumps. Use a wooden spoon or spatula to crumble and stir it constantly. This step takes about 5 to 7 minutes. You're waiting for the beef to lose that raw pink color completely and develop some golden-brown bits on the bottom of the pot. Once the beef is fully cooked through, pause and look at what's in your pot. If there's a layer of grease sitting on top—which there often is with 80/20 ground beef—tilt the pot and skim off the excess fat with a spoon, or use paper towels to blot it away. I usually leave about a teaspoon of fat in there for flavor, but removing the excess keeps this soup feeling lighter while maintaining richness. Season the cooked beef with a pinch of salt and pepper at this point.
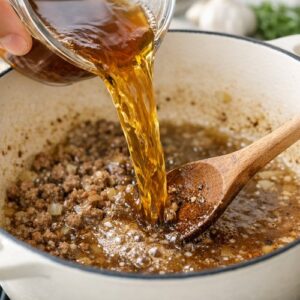
Step 3: Build the Broth Foundation
- Pour in your 3 cups of beef broth, scraping the bottom of the pot with your spoon as you pour. Those brown bits stuck to the bottom—we call that fond in the kitchen—contain concentrated flavor gold. You're deglazing the pot, which means that flavorful residue dissolves into your broth and seasons the entire batch. This technique costs you nothing but patience and transforms ordinary into exceptional. Next comes your can of diced tomatoes with all their juice, then your large can of tomato sauce. Stir everything together until combined. The mixture will look loose and brothlike, and that's exactly what we want at this stage.
Step 4: Add the Flavor Builders and Sweetness Balance
- Now add your 2 tablespoons of brown sugar, stirring well to dissolve it. The sugar does something crucial here—it balances the acidity from the tomatoes, preventing that sharp, slightly sour taste that canned tomato products sometimes carry. You're not making soup taste sweet; you're neutralizing excess acidity with just enough sugar to feel balanced on the palate. Add your tablespoon of Worcestershire sauce, which adds a savory umami quality that makes people ask, "What's that amazing flavor?" Finally, add your teaspoon each of dried basil, dried oregano, and dried thyme. Drop in your 2 bay leaves. Stir everything together, making sure the spices distribute evenly throughout the liquid. This is the moment your kitchen will smell absolutely incredible.
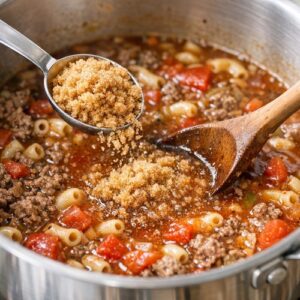
Step 5: Simmer and Build Flavor
- Bring everything to a gentle boil over medium-high heat. You'll see small bubbles breaking the surface actively. Once you reach that boil, immediately reduce your heat to medium-low and allow it to simmer gently for 10 minutes without the pasta. This simmering time lets the spices fully hydrate and infuse the broth. The flavors marry together and deepen. This is why patience in the kitchen delivers restaurant-quality results without restaurant prices. After 10 minutes, taste your broth. Does it taste balanced and flavorful? If it tastes slightly flat, you might add another pinch of salt. If it tastes too acidic, add a quarter teaspoon more brown sugar. Season gradually—you can always add more, but you can't remove it.
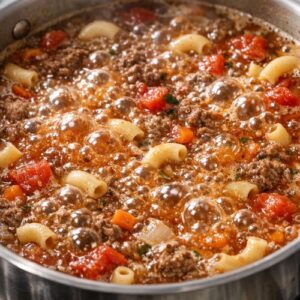
Step 6: Add Pasta and Finish Cooking
- Stir in your 2 cups of uncooked elbow macaroni. The pasta will sink below the surface of the broth, which is perfect. Continue simmering at medium-low heat for 10 to 12 minutes, stirring occasionally to prevent sticking. The pasta gradually absorbs the broth and softens. You're looking for tender pasta, not mushy. Start checking for doneness at the 10-minute mark by tasting a single piece. When the pasta reaches perfect tenderness, remove the pot from heat. Fish out those 2 bay leaves with a spoon—they've done their job and should be removed before serving. Take one final taste and adjust seasoning as needed. Often you'll add a pinch more salt and fresh black pepper at this final moment.
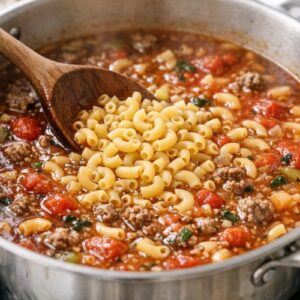
Step 7: Rest and Serve
- Let the soup sit for 5 minutes off the heat before serving. This brief rest allows everything to settle and flavors to fully integrate. The soup will thicken slightly as it rests because the pasta continues releasing starch into the broth. If you prefer a brothier consistency, stir in that optional half cup of low-sodium chicken broth to reach your preferred texture. Ladle into bowls and serve immediately while steaming hot. A small handful of fresh parsley on top is lovely if you have it, but absolutely not necessary. This soup is delicious and complete exactly as it stands.
Notes
- Buy ground beef on manager's special - Check the markdown bin at your grocery store on Tuesday or Wednesday mornings when they reduce prices on meat nearing the sell-by date. You'll find premium 80/20 beef for $3 to $4 per pound instead of the regular $5.50 to $6.50. Freeze it immediately when you get home, and it's perfectly safe.
- Stock up on canned tomatoes during sales, not when you need them - Canned tomatoes rotate on sale roughly every six weeks at most stores. When you see diced tomatoes or tomato sauce marked down to $0.39 to $0.49, buy enough for three months of cooking. Canned goods have a long shelf life, and you'll use them regularly.
- Invest once in dried herbs, then save forever - Buying small spice jars from the supermarket spice aisle costs three times more per ounce than ordering bulk herbs online or purchasing from specialty spice shops. A one-time $25 investment in basil, oregano, and thyme covers you for an entire year of cooking.
- Choose store-brand broth without hesitation - Blind taste tests consistently show store-brand beef broth performs identically to name-brand versions in soups. The sodium content is similar, the flavor profile is nearly identical, and you'll save $0.75 per can.
- Buy pasta in bulk when it's on sale - Elbow macaroni doesn't expire and costs even less when purchased in multi-packs. A 5-pound bag from a warehouse club costs roughly $0.15 per pound versus $0.40 per pound for standard grocery store boxes.