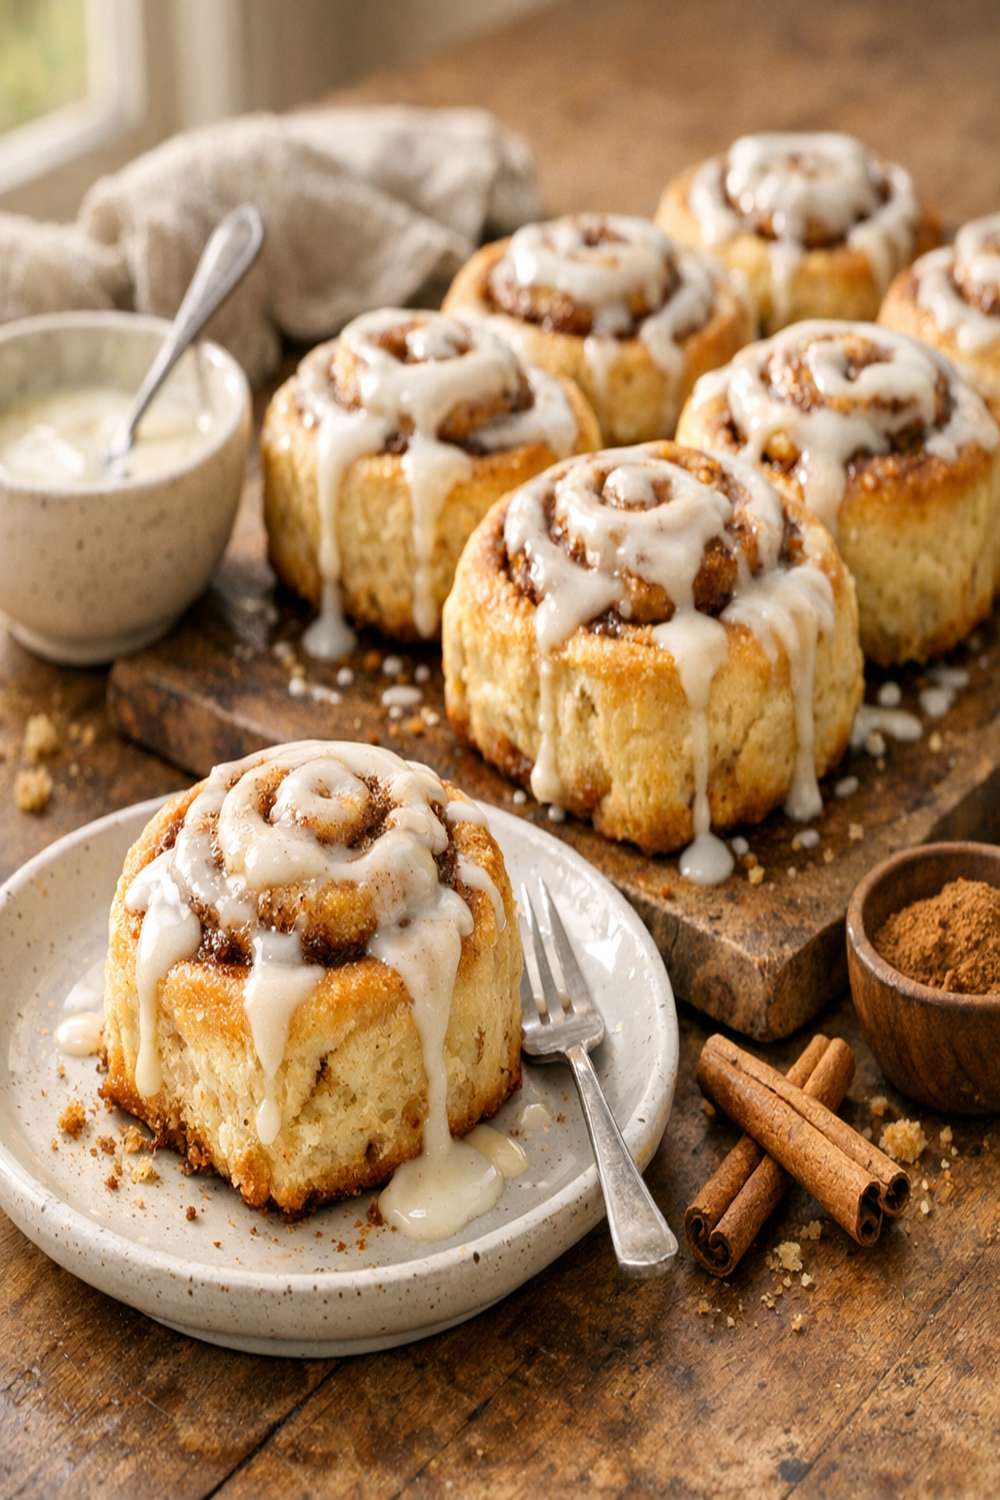

Ingredients
Method
Step 1: Heat Your Oven and Prep Your Pan
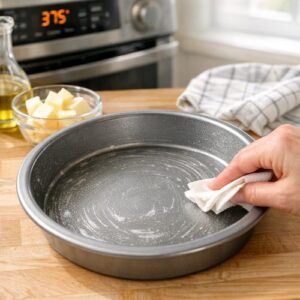
- Turn your oven to 375 degrees Fahrenheit. While it's preheating (this takes about 8 minutes), grab your 8-inch round cake pan or 9-inch pie plate and coat it generously with non-stick cooking spray. Spray the bottom and all sides—this prevents any sticking and means cleanup is genuinely easy. If kids are helping, this is their moment to take ownership of the pan preparation. Supervise spray use, keeping it away from their faces.
Step 2: Mix Your Dough Base
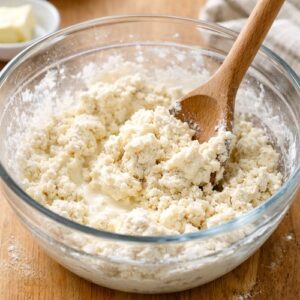
- In a medium mixing bowl, combine your 2 1/4 cups Bisquick mix with your 2/3 cup room-temperature buttermilk. Using a wooden spoon or sturdy spatula, stir until a soft dough forms. This should take about 1 minute of gentle mixing. Don't overmix—overmixing activates gluten and creates toughness. You want a slightly shaggy dough that just comes together. The dough will be soft and slightly sticky, and that's exactly right. If it feels too sticky, you can add a tablespoon more Bisquick mix, but resist the urge to add flour from your pantry (which has a different protein content and will throw off your texture). Pro tip from my dietitian perspective: The buttermilk here isn't just for flavor—it's delivering live cultures that support gut health, and its acidity reacts with the leavening in Bisquick to create lift without yeast. Kids eating this are getting digestive support baked right in.
Step 3: Flour Your Surface and Roll the Dough
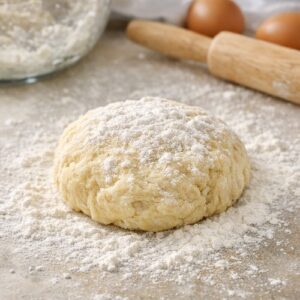
- Sprinkle Bisquick mix lightly onto your counter or pastry mat (a silicone mat works beautifully here). Turn your dough out onto the floured surface. Using a rolling pin, gently roll the dough into a rectangle approximately 8 inches wide by 12 inches long. You're aiming for even thickness throughout—about 1/4 inch thick is perfect. If kids are rolling, have them use both hands and gentle pressure rather than aggressive rolling, which can create uneven thickness. The dough will cooperate beautifully; if it's resisting, let it rest for 2 minutes and it'll relax.
Step 4: Spread and Season Your Filling
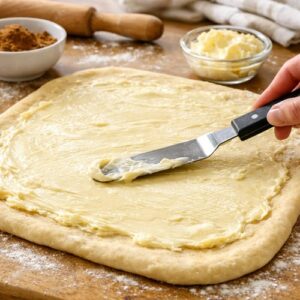
- This is where the magic happens. Take your 1/4 cup softened butter and spread it evenly across the entire dough rectangle, right to the edges. You're creating a thin, even layer—about 1/8 inch thick. The softened butter spreads like a dream without tearing the dough. In a small bowl, combine your 1/3 cup packed light brown sugar with your 2 teaspoons ground cinnamon and 1/4 teaspoon sea salt. Mix these together until evenly distributed. Now sprinkle this cinnamon-sugar mixture evenly across the buttered dough surface. This is the perfect moment for your 3-5 year olds to participate. They can sprinkle the cinnamon mixture while you've handled the butter spreading. Give them a small spoon and let them control the flow across the rectangle. This builds ownership and keeps their energy invested in the outcome.
Step 5: Roll Jelly-Roll Style and Slice
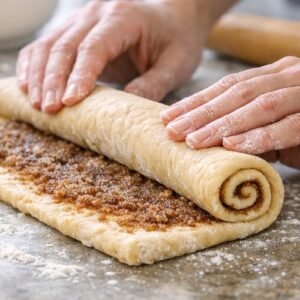
- Starting at the long end of your rectangle (the 12-inch side), begin rolling the dough tightly toward you, like you're rolling a jelly roll. Roll firmly but not aggressively—you want the spiral to be snug without squeezing out the filling. When you reach the end, you'll have a long log approximately 12 inches long and about 2 inches in diameter. Using a sharp knife or a piece of dental floss (yes, really—floss creates cleaner cuts without compressing the dough), slice this log into 6 equal pieces. Each roll should be about 2 inches wide. Dental floss trick: If using floss, hold it taut with both hands and press downward with a gentle sawing motion. This prevents compression better than a knife and creates beautiful, clean spiral cross-sections.
Step 6: Arrange Rolls in Pan and Pour Cream
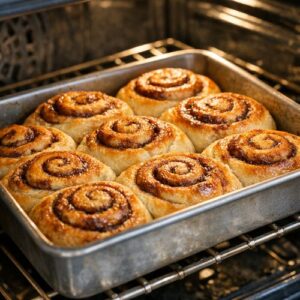
- Place all 6 sliced rolls cut-side up into your prepared baking pan, arranging them so they're touching slightly but not cramped. They'll expand as they bake and create a beautiful connected pull-apart effect. Now, slowly pour your 1/3 cup warmed heavy cream over all the rolls, distributing it as evenly as possible. This cream does two things: it provides moisture for tender crumb development, and it creates a luxurious base that prevents any dryness. Warm the cream by heating it in a small saucepan over medium heat for about 2 minutes, or microwave it for 30-45 seconds—you want it warm to the touch, not hot.

Step 7: Bake Until Golden and Cooked Through
- Slide your pan into your preheated 375-degree oven. Set a timer for 20 minutes, then check for doneness. The rolls should be golden brown on top and the center roll should be cooked through (not doughy in the middle). A simple test: gently pull up on the edge of the center roll with a fork. If it looks firm and set rather than wet and undercooked, you're done. If it still looks doughy, give them another 3-5 minutes. If the tops are browning too quickly before the centers are cooked, loosely tent the pan with aluminum foil and continue baking. Total baking time is typically 20-25 minutes.
Step 8: Make Your Glaze While Rolls Cool Slightly
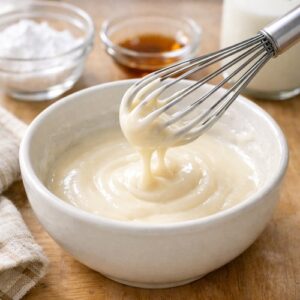
- While the rolls cool in the pan for exactly 3 minutes (no more, or the glaze won't meld), prepare your glaze. In a small bowl, whisk together your 1 cup powdered sugar, 1 tablespoon melted butter, 1/2 teaspoon vanilla extract, and 3 tablespoons of heavy cream. Mix until smooth and pourable. If the glaze seems too thick, add another tablespoon of heavy cream and whisk again. You're aiming for a consistency that drizzles easily but isn't runny. If glaze accidentally gets too thin, just stir in another tablespoon of powdered sugar.
Step 9: Glaze and Serve
- After those 3 minutes of cooling, drizzle or spread the glaze generously over all the warm rolls. The warmth of the rolls will help the glaze melt into all the nooks and crannies. Let them rest for another 2 minutes, then serve warm. This is the moment when every kid at your table becomes a believer.

Notes
- Overmixing the Dough - I see this constantly. Parents think more mixing means better texture, but with Bisquick recipes, overmixing activates gluten and creates toughness instead of tenderness. Mix just until combined, then stop. Trust the process. Your dough should look slightly shaggy, not perfectly smooth.
- Rolling Unevenly - If your dough rectangle has thin spots and thick spots, your rolls will bake unevenly. Some will be done while others are still doughy. Take your time rolling to even thickness throughout. If dough resists, let it rest 2 minutes and it'll cooperate beautifully.
- Using Cold Butter for Spreading - Cold butter tears the dough because it doesn't spread. Room-temperature butter (about 15 minutes out of the fridge) spreads like a dream. If you forget and your butter is cold, soften it in the microwave for 5-10 second bursts, stirring between bursts, until it's spreadable but not melted.
- Adding Cream That's Too Hot - Boiling hot cream can actually start cooking the dough before it hits the oven, creating uneven texture. Warm the cream gently (just warm to the touch, not steaming), then pour. This gives you moisture without disrupting the dough structure.