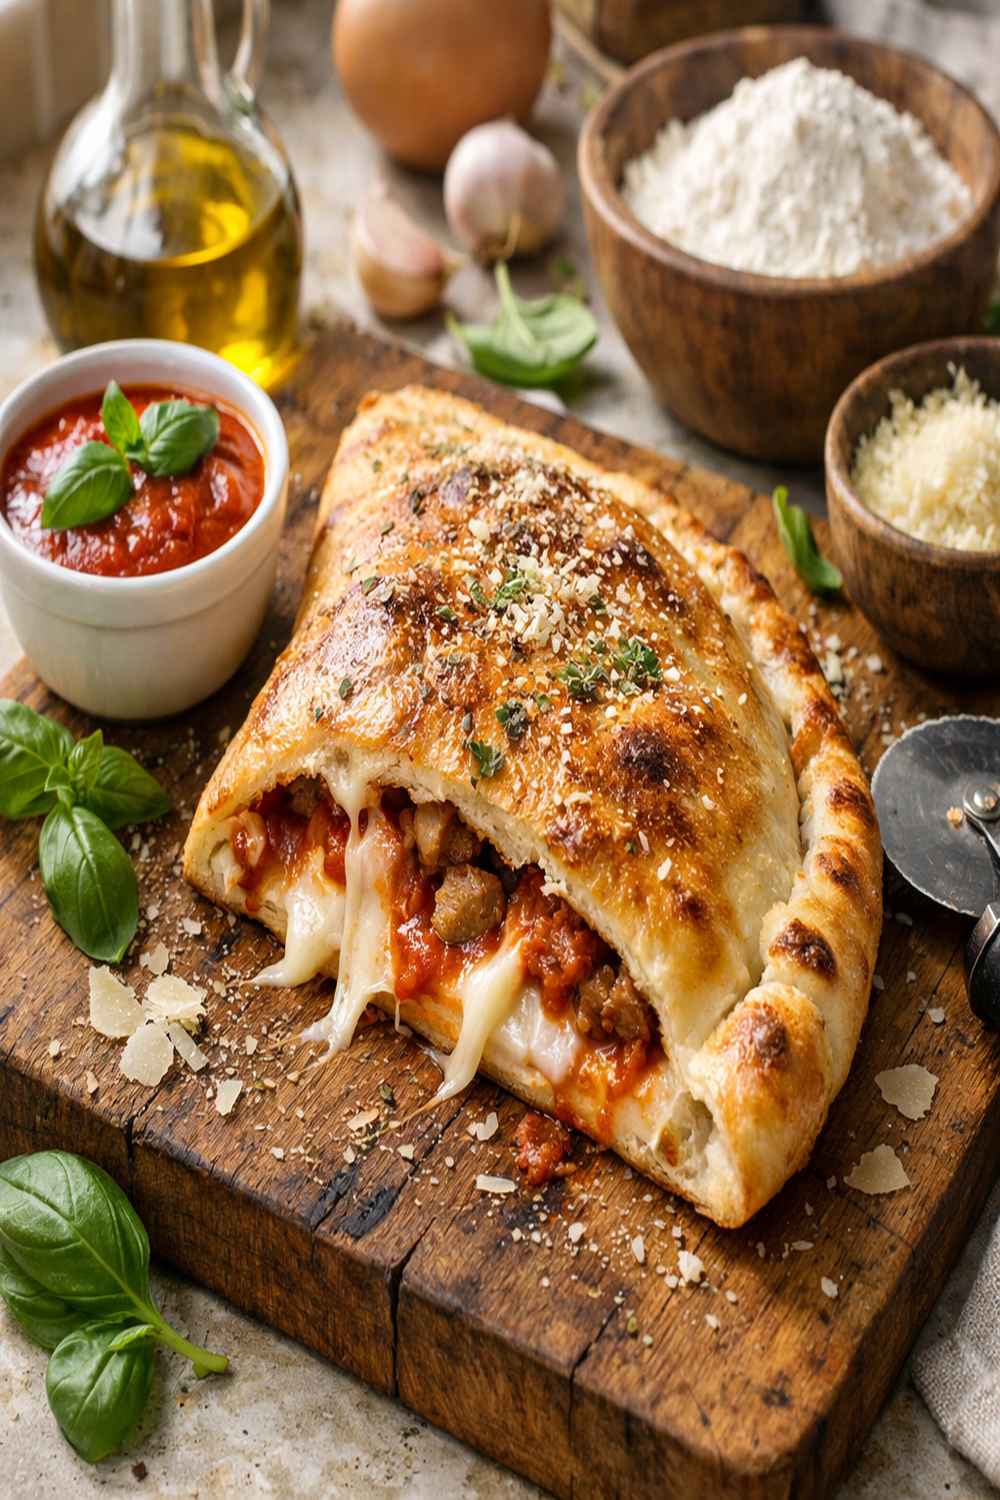

Ingredients
Method
Step 1: Prepare Your Workspace and Heat Your Oven
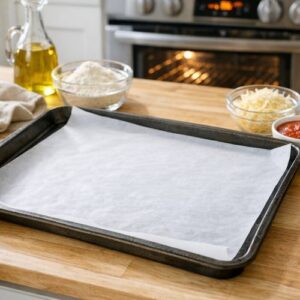
- Set your oven to 425°F and line a large baking sheet with parchment paper. This temperature is the sweet spot—hot enough to create a gorgeous, crispy exterior without burning the dough before the interior cooks through. Parchment paper prevents sticking and gives you the cleanest release. While the oven preheats, gather all your fillings in small bowls within arm's reach—mise en place is a professional move that prevents scrambling mid-assembly.
Step 2: Divide and Roll Your Dough
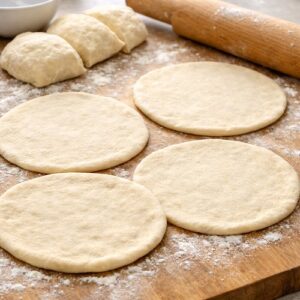
- Cut your pizza dough into 4 equal portions and gently roll each into a thin circle about ¼ inch thick. Work on a lightly floured surface to prevent sticking. If your dough springs back (which means it's developing gluten beautifully), let it rest for 2-3 minutes, then continue rolling. Think pizza-thin, not bread-thick—this texture is what creates that perfect crispy-outside, tender-inside result that makes these so irresistible.
Step 3: Layer Your Fillings Strategically
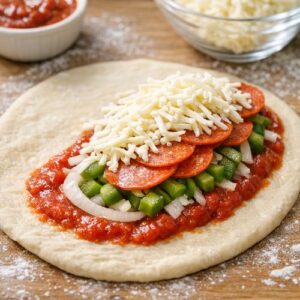
- On one half of each dough circle, layer your fillings in this order: sauce, then onion, then green pepper, then pepperoni, and finally the shredded cheese on top. This layering method is intentional—the sauce creates moisture on the bottom, vegetables in the middle, protein next, and cheese on top to seal everything together as it melts. Keep all fillings about ½ inch away from the edges; this rim of bare dough is essential for creating a sealed, crimped edge that holds everything inside during baking.
Step 4: Fold and Crimp Like a Pro
- Fold the unfilled half of dough over the filling, then use your fingertips or a fork to crimp the edges tightly together. This is your seal—crimp firmly enough that nothing escapes during baking, but don't press so hard that you deflate the dough entirely. If you're using a fork, create a decorative pattern while you work; if you're using your fingers, make overlapping seal marks about ½ inch apart all the way around. This visual marker also tells you where your seal is strongest.
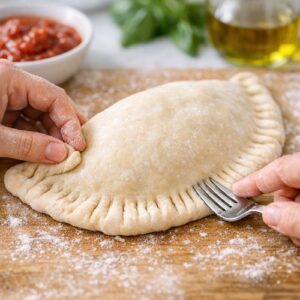
Step 5: Vent and Brush
- Cut 2-3 small slits into the top of each calzone using a sharp knife, then brush the entire surface with 1 tablespoon of olive oil. These vents release steam during baking and prevent the dough from puffing up like a balloon. The olive oil brushing creates that gorgeous golden-brown exterior we're all after—it's the difference between a pale, sad calzone and a restaurant-quality beauty. Don't skip this step; the oil is doing real work here, creating texture and color.
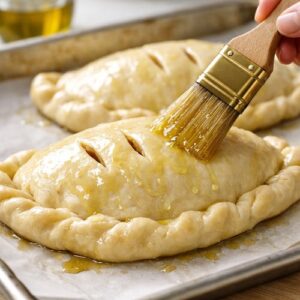
Step 6: Bake to Golden Perfection
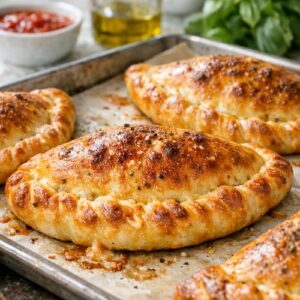
- Transfer your calzones to the prepared baking sheet and bake for 14-16 minutes until the dough is fully cooked through and the exterior is deep golden brown. Start checking at 14 minutes—ovens vary, and you want to catch them right at the peak of golden, not burnt. The dough should feel set and slightly crispy when you tap the top. Remove from the oven and let rest for 2 minutes before serving (I know it's hard to wait, but this allows the inside to set slightly so fillings don't explode everywhere when you bite in).
Notes
- Overfilling your calzones - I see this constantly. Too much filling prevents proper sealing, and the edges burst open during baking, creating a mess and uneven cooking. Stick to the ½ cup measurements per calzone; it's perfectly generous and actually creates the ideal filling-to-dough ratio. Trust the recipe.
- Forgetting the bare edge rim - this is non-negotiable. If you fill all the way to the edges, your crimp won't hold. That ½-inch border of bare dough is your insurance policy against a filling explosion. Leave it empty.
- Skipping the olive oil brush - I've seen calzones baked without it, and they're pale, dry, and disappointing. That oil brushing creates the signature golden color and crispy texture. It takes 30 seconds and transforms the result. Do it every time.
- Not venting properly - those 2-3 slits aren't decorative; they're functional. Without them, steam builds up inside, the dough puffs unevenly, and you might get a gummy interior. Make intentional slits and keep them open as the calzones bake.