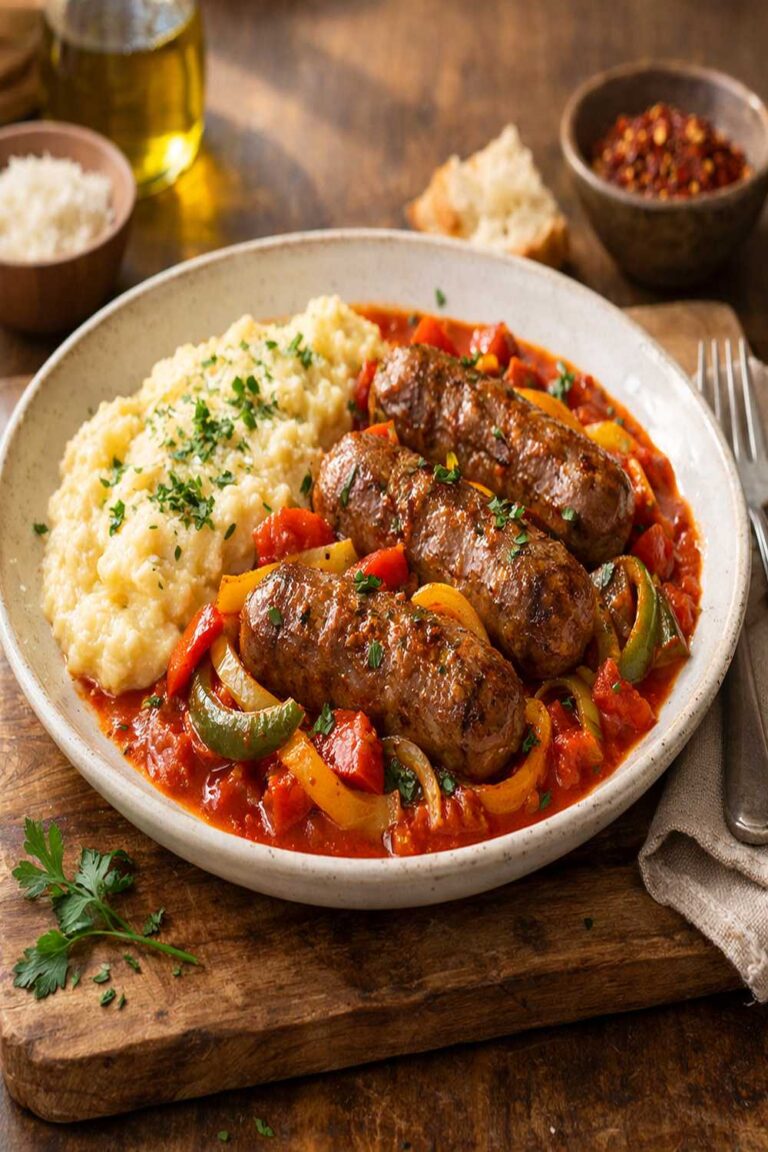
Calzone Pizza Dough Recipe
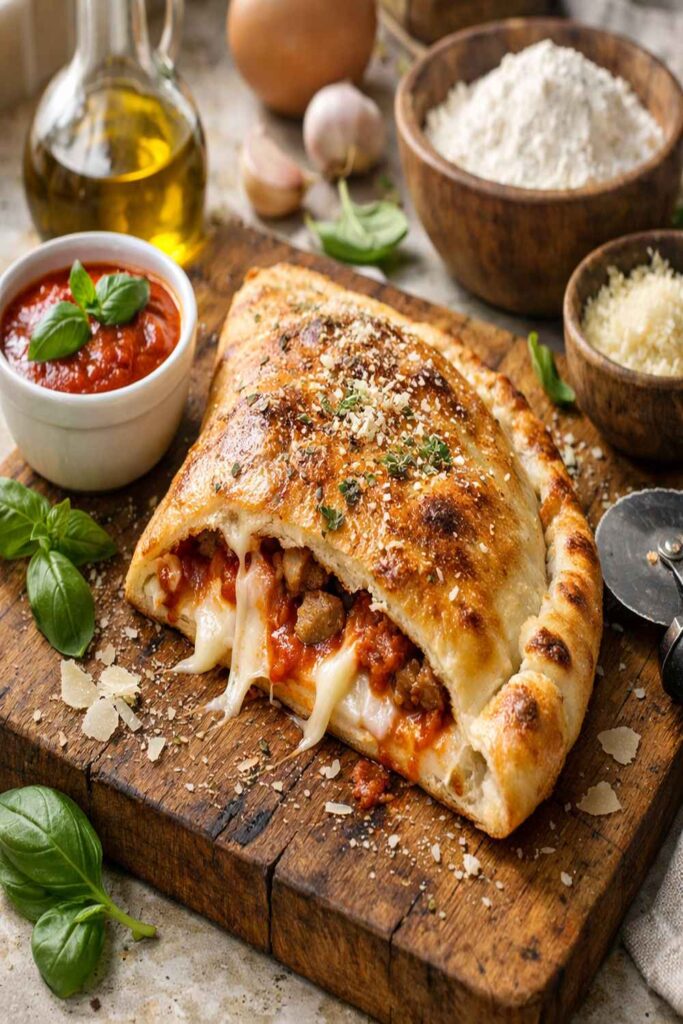
Last Updated on September 28, 2026
This post contains affiliate links. As an Amazon Associate I earn from qualifying purchases.
I grew up watching my grandmother transform a pound of dough, some sauce, and whatever we had in the pantry into golden-brown pockets of pure comfort that made every family gathering feel special. Today, I’m bringing that magic to your kitchen with homemade calzone pizza dough—ready in just 30 minutes with foolproof results every single time. Whether you’re feeding a hungry family or impressing friends on game night, this recipe delivers restaurant-quality calzones without the restaurant price tag or complexity. I’ve streamlined the process, troubleshot every potential hiccup, and created something so easy you’ll be making these weekly. Ready to create some kitchen magic of your own? Let’s go!
Easy Calzone Pizza Dough Recipe (Ready in 30 Minutes, One Pan, Unbeatable Results)
This is the only calzone recipe you’ll ever need. I’ve merged my registered dietitian background with Texas comfort-food creativity to create a version that’s lighter than traditional recipes but tastes absolutely indulgent. The dough comes together in minutes, the fillings are completely customizable, and the results are so impressive that everyone assumes you spent hours in the kitchen.
Why You’ll Love This Recipe
- Ready in 30 minutes flat – from oven preheating to golden-brown perfection in half an hour, perfect for busy weeknights when you need real food fast
- Requires zero special equipment – just one baking sheet, your hands, and a rolling pin (or even a wine glass works in a pinch!)
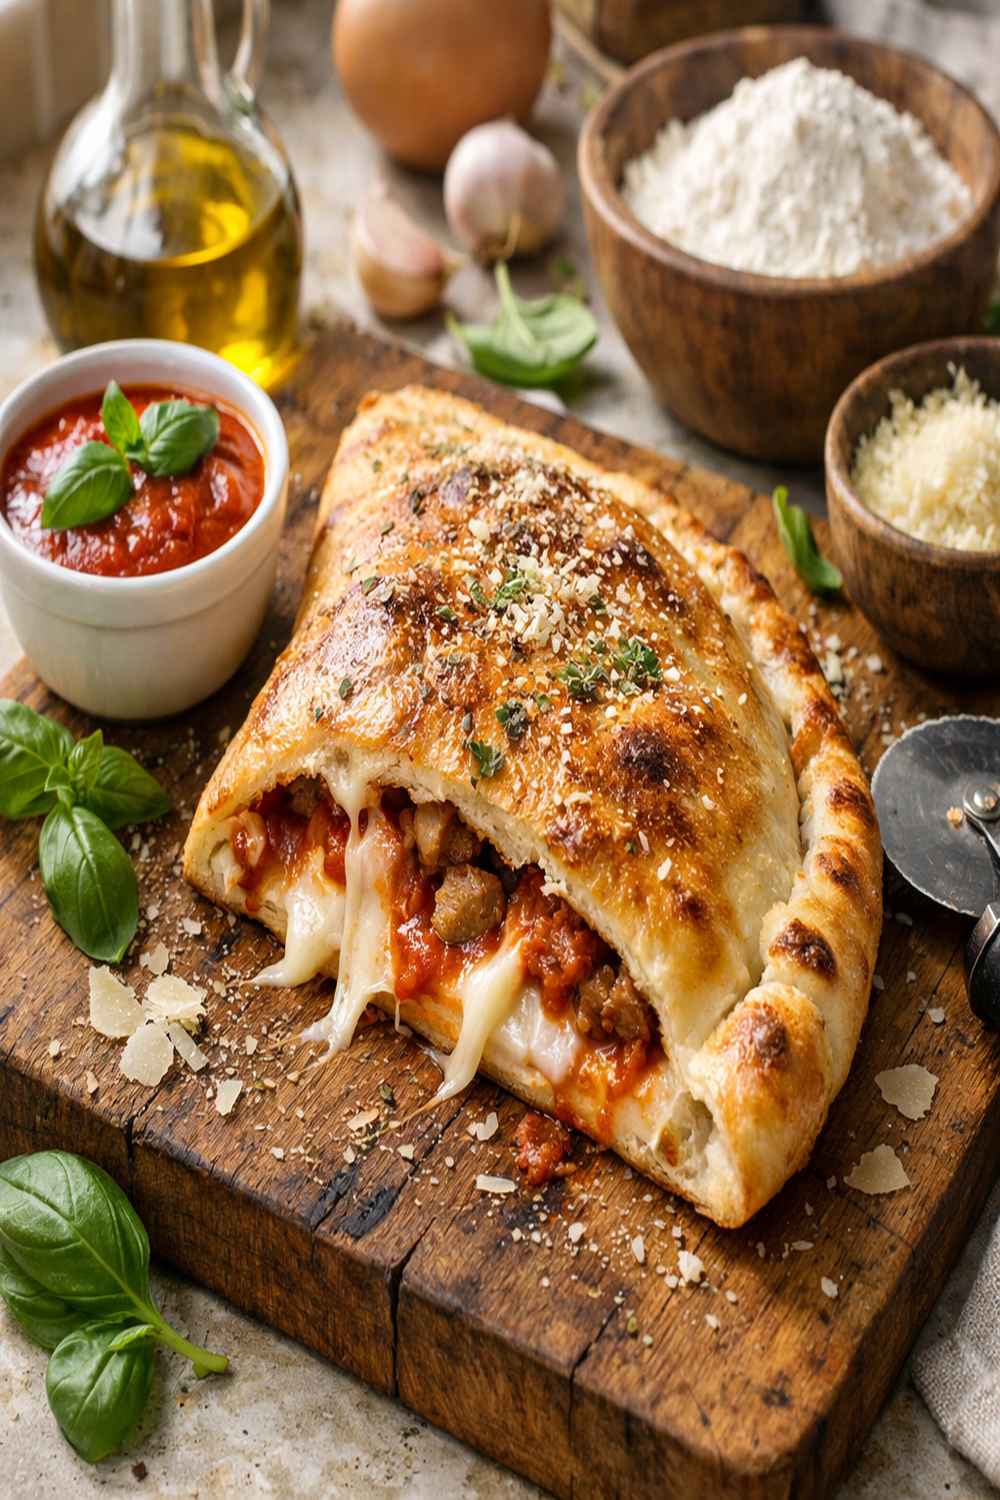
- Feeds 4 people with restaurant-quality results – crispy, golden exterior with a pillowy interior and perfectly melted cheese that stretches with every bite
- Endlessly customizable for every palate – swap proteins, vegetables, cheeses, and sauces to match your family’s preferences or whatever’s in your fridge
- Budget-friendly comfort food – costs a fraction of what pizzerias charge and uses basic pantry staples you likely have on hand right now
What You Need
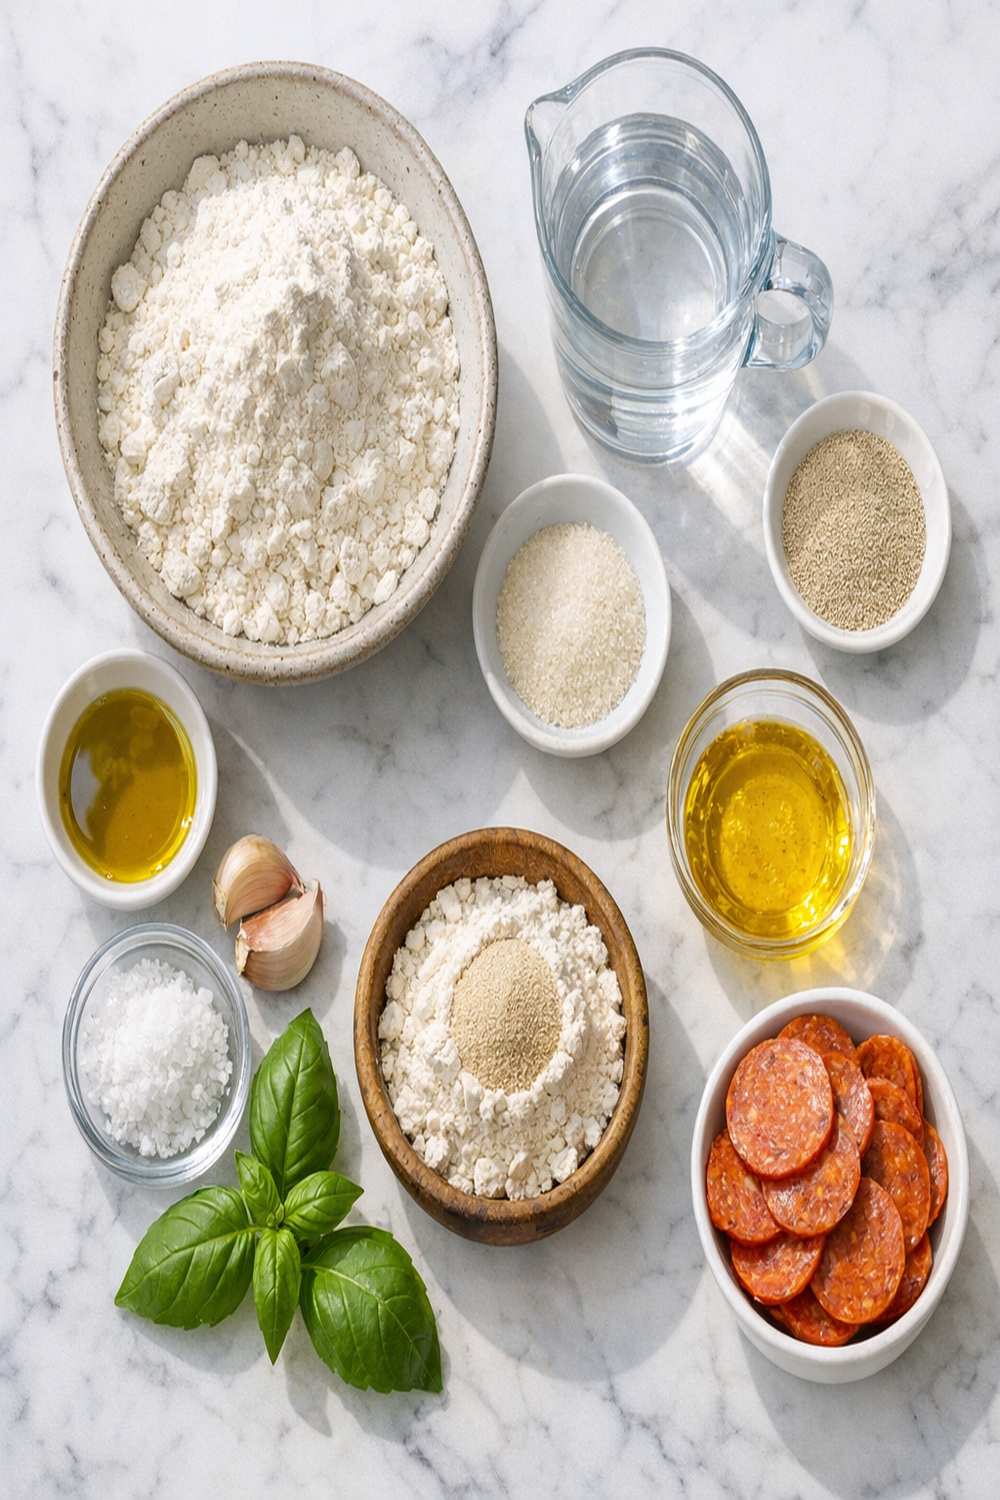
Just 7 simple ingredients create four gorgeous, stuffed calzones:
- 1 pound pizza dough (fresh from the bakery counter or homemade—I’ll link you to my Calzone Dough Recipe if you want to start completely from scratch)
- 1 cup whole milk mozzarella cheese (freshly shredded, not pre-shredded—the texture difference is non-negotiable for melting perfection)
- ½ cup pizza sauce (marinara works beautifully too, or make it even lighter with a no-sugar-added version)
- ½ cup diced yellow onion (sweet varieties like Vidalia create the most mellow flavor)
- ½ cup sliced pepperoni (quality matters here—seek out uncured versions if you’re reducing sodium)
- ½ cup diced green bell pepper (raw is perfect; no pre-cooking needed)
- 2 tablespoons extra-virgin olive oil (divided for brushing and flavor)
How to Make Calzone Pizza Dough Recipe in 6 Steps
Here’s exactly how to transform those ingredients into four stunning, restaurant-quality calzones:
Step 1: Prepare Your Workspace and Heat Your Oven
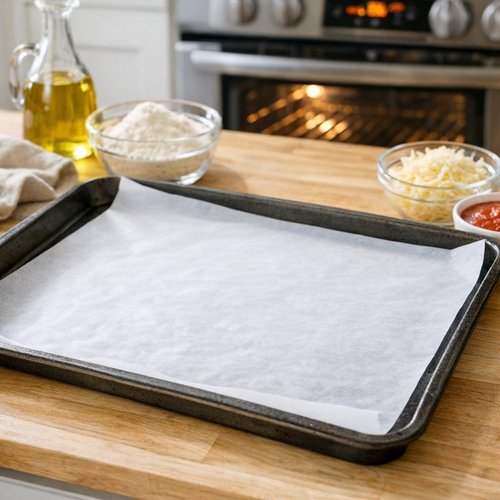
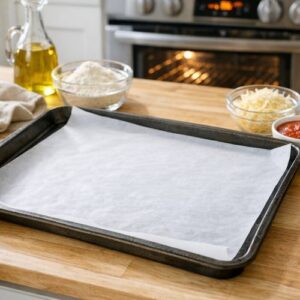
Set your oven to 425°F and line a large baking sheet with parchment paper. This temperature is the sweet spot—hot enough to create a gorgeous, crispy exterior without burning the dough before the interior cooks through. Parchment paper prevents sticking and gives you the cleanest release. While the oven preheats, gather all your fillings in small bowls within arm’s reach—mise en place is a professional move that prevents scrambling mid-assembly.
Step 2: Divide and Roll Your Dough
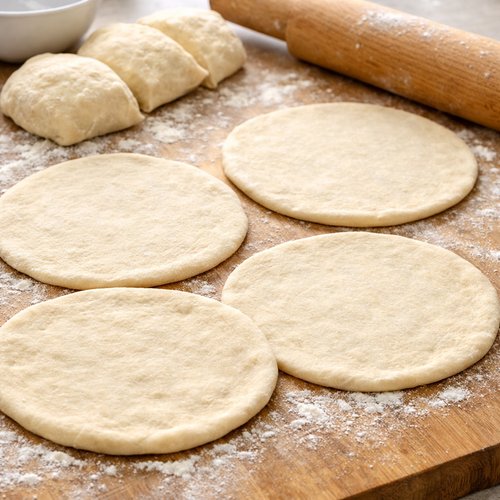
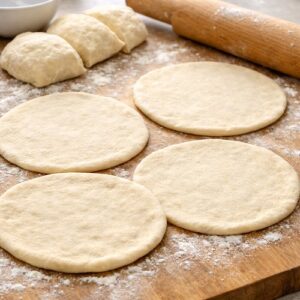
Cut your pizza dough into 4 equal portions and gently roll each into a thin circle about ¼ inch thick. Work on a lightly floured surface to prevent sticking. If your dough springs back (which means it’s developing gluten beautifully), let it rest for 2-3 minutes, then continue rolling. Think pizza-thin, not bread-thick—this texture is what creates that perfect crispy-outside, tender-inside result that makes these so irresistible.
Step 3: Layer Your Fillings Strategically
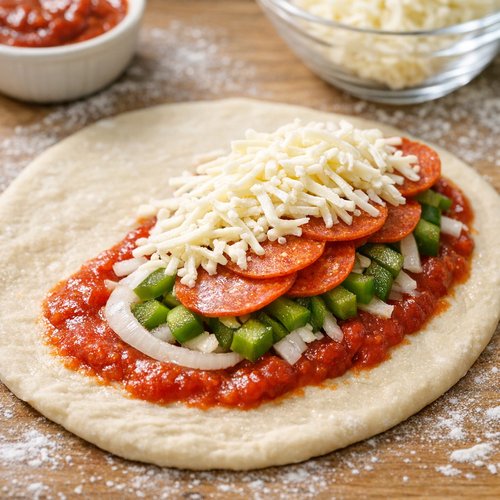
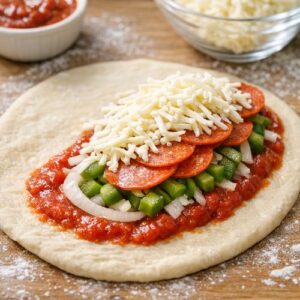
On one half of each dough circle, layer your fillings in this order: sauce, then onion, then green pepper, then pepperoni, and finally the shredded cheese on top. This layering method is intentional—the sauce creates moisture on the bottom, vegetables in the middle, protein next, and cheese on top to seal everything together as it melts. Keep all fillings about ½ inch away from the edges; this rim of bare dough is essential for creating a sealed, crimped edge that holds everything inside during baking.
Step 4: Fold and Crimp Like a Pro
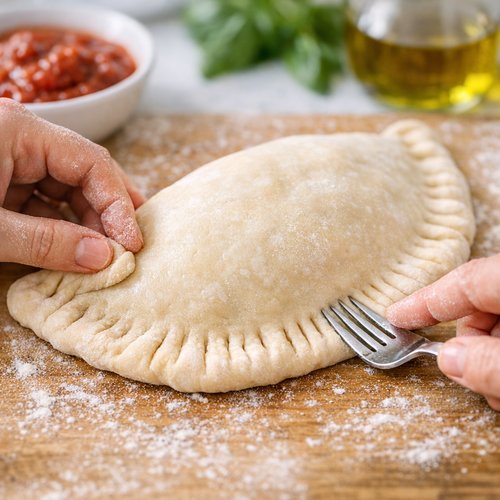
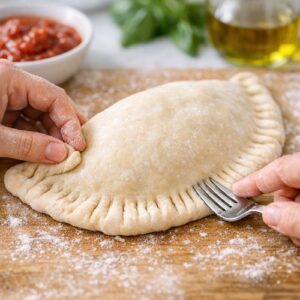
Fold the unfilled half of dough over the filling, then use your fingertips or a fork to crimp the edges tightly together. This is your seal—crimp firmly enough that nothing escapes during baking, but don’t press so hard that you deflate the dough entirely. If you’re using a fork, create a decorative pattern while you work; if you’re using your fingers, make overlapping seal marks about ½ inch apart all the way around. This visual marker also tells you where your seal is strongest.
Step 5: Vent and Brush
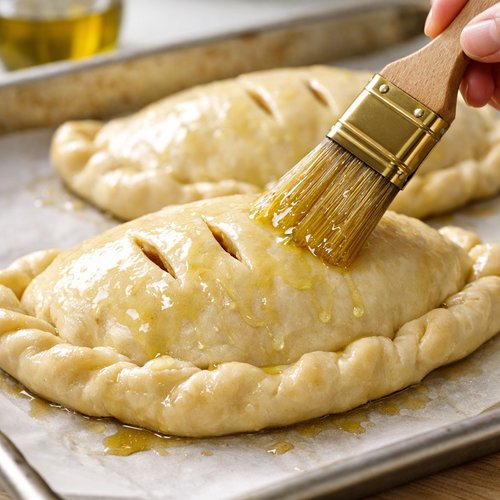
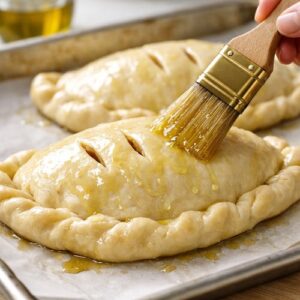
Cut 2-3 small slits into the top of each calzone using a sharp knife, then brush the entire surface with 1 tablespoon of olive oil. These vents release steam during baking and prevent the dough from puffing up like a balloon. The olive oil brushing creates that gorgeous golden-brown exterior we’re all after—it’s the difference between a pale, sad calzone and a restaurant-quality beauty. Don’t skip this step; the oil is doing real work here, creating texture and color.
Step 6: Bake to Golden Perfection
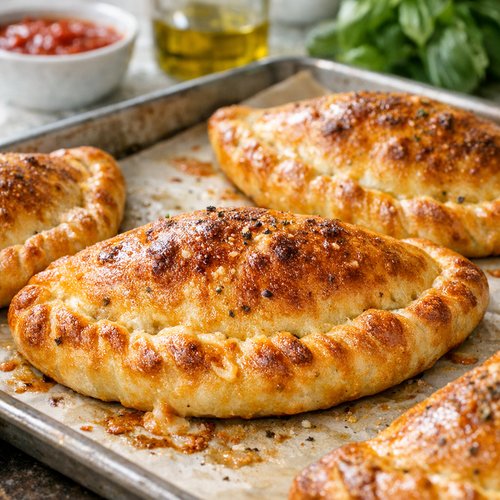
Transfer your calzones to the prepared baking sheet and bake for 14-16 minutes until the dough is fully cooked through and the exterior is deep golden brown. Start checking at 14 minutes—ovens vary, and you want to catch them right at the peak of golden, not burnt. The dough should feel set and slightly crispy when you tap the top. Remove from the oven and let rest for 2 minutes before serving (I know it’s hard to wait, but this allows the inside to set slightly so fillings don’t explode everywhere when you bite in).
Expert’s Nutritional Tip: Why Whole Milk Mozzarella Matters
As a registered dietitian, I’m often asked why I don’t suggest low-fat mozzarella in this recipe. Here’s the science: whole milk mozzarella contains conjugated linoleic acid (CLA) and fat-soluble vitamins like vitamin A that support absorption of other nutrients. More importantly for this recipe, the fat is what creates that satisfying mouthfeel and melting texture that makes calzones emotionally fulfilling. When you reduce fat in cheese, you’re chasing more cheese to satisfy that craving—so you end up using more total volume and actually consuming more calories. Use the real thing in reasonable portions. That’s how we lighten comfort classics without losing their indulgent essence.
5 Ways to Customize This Recipe
- The Vegetarian Garden Version – replace pepperoni with roasted mushrooms, sun-dried tomatoes, fresh spinach, and artichoke hearts for a satisfying meatless option that’s equally filling and flavorful
- The Spicy Texas Heat Edition – add jalapeño slices, use hot Italian sausage instead of pepperoni, and stir a pinch of red pepper flakes into your pizza sauce for a kick that builds with each bite
- The Loaded Meat Lover’s Dream – combine pepperoni with Italian sausage crumbles and crispy bacon bits for those who believe more protein is always more delicious (and honestly, they’re not wrong)
- The Fresh Italian Garden – swap pepperoni for fresh mozzarella balls, add fresh basil, diced Roma tomatoes, and a drizzle of aged balsamic vinegar for a lighter, brighter flavor profile
- The BBQ Chicken Twist – shred cooked rotisserie chicken, replace pizza sauce with your favorite BBQ sauce, add red onion and a touch of smoked paprika, then top with cheddar instead of mozzarella for a completely different flavor journey
Make-Ahead Guide: Meal Prep Like a Pro
- Prep fillings the night before (saves 10 minutes the next day) – dice your onions, peppers, and measure your cheese into small containers. Store in the fridge in airtight containers. In the morning, your assembly takes exactly 5 minutes instead of 15. This is a game-changer for busy families.
- Assemble calzones in the morning, bake at dinner (saves 15 minutes of cooking time when you’re most frazzled) – prepare all four calzones through the crimping step, cover them loosely with plastic wrap, and refrigerate up to 8 hours. When dinner time arrives, simply brush with oil, cut vents, and bake. No thawing needed; just add 2-3 minutes to baking time if starting from cold.
- Freeze pre-assembled calzones for up to 3 months (creates instant weeknight dinners) – after assembly and crimping, place calzones on a baking sheet, freeze uncovered for 2 hours until solid, then transfer to a freezer bag. When you need dinner in 30 minutes, brush with oil and bake straight from frozen for 18-20 minutes. This is your secret weapon for nights when plans change.
- Make extra dough on the weekend (cuts Monday-Friday cooking time dramatically) – if you’re making dough from scratch, double the batch. Divide into portions, wrap tightly in plastic, and refrigerate up to 3 days or freeze up to 3 months. Thaw overnight in the fridge before using.
Common Mistakes to Avoid (So Your First Attempt Is Perfect)
- Overfilling your calzones – I see this constantly. Too much filling prevents proper sealing, and the edges burst open during baking, creating a mess and uneven cooking. Stick to the ½ cup measurements per calzone; it’s perfectly generous and actually creates the ideal filling-to-dough ratio. Trust the recipe.
- Forgetting the bare edge rim – this is non-negotiable. If you fill all the way to the edges, your crimp won’t hold. That ½-inch border of bare dough is your insurance policy against a filling explosion. Leave it empty.
- Skipping the olive oil brush – I’ve seen calzones baked without it, and they’re pale, dry, and disappointing. That oil brushing creates the signature golden color and crispy texture. It takes 30 seconds and transforms the result. Do it every time.
- Not venting properly – those 2-3 slits aren’t decorative; they’re functional. Without them, steam builds up inside, the dough puffs unevenly, and you might get a gummy interior. Make intentional slits and keep them open as the calzones bake.
Seasonal Variations: Adapt This Recipe Year-Round
- Spring/Summer: The Fresh Herb Version – add fresh basil, sliced fresh mozzarella, garden tomatoes, and consider swapping traditional pepperoni for prosciutto for a lighter, more delicate flavor that matches the season
- Fall: The Harvest Calzone – roast butternut squash cubes, add crispy sage, use caramelized onions, swap mozzarella for fontina cheese, and include a touch of nutmeg in your sauce for cozy, seasonal warmth
- Winter: The Hearty Comfort Version – load up with Italian sausage, roasted garlic, spinach, and sun-dried tomatoes, then finish with a sprinkle of parmesan for a richer, more substantial version that sticks with you through cold months
Quick Substitutions
- Pizza sauce -> marinara sauce, or even a white sauce made with ricotta and cream if you want richness without the tomato
- Whole milk mozzarella -> provolone, fontina, or even a blend of mozzarella and parmesan for deeper flavor
- Pepperoni -> Italian sausage, ham, bacon, or skip entirely and add roasted vegetables instead
- Green bell pepper -> red or yellow peppers for sweetness, or mushrooms for earthiness and umami depth
- Yellow onion -> Vidalia for extra sweetness, or red onion for a sharper bite that stands up to rich cheeses
How to Store and Reheat
Refrigerator: Store cooled calzones in an airtight container for up to 4 days. Freezer: Freeze baked calzones for up to 3 months (or unbaked calzones for up to 3 months if you want the absolute freshest texture). Reheat baked calzones in a 350°F oven for 12-15 minutes until warmed through and the exterior is crispy again. A microwave will make the dough tough, so please don’t go that route. If you’ve frozen unbaked calzones, brush with oil and bake straight from frozen for 18-20 minutes. To serve, let cool for 2 minutes before eating—the interior is molten hot and needs a beat to set slightly.
Nutrition at a Glance
Each calzone contains approximately 425 calories, 18g protein, 16g fat, 48g carbohydrates, and 4g fiber based on USDA nutrition data for standard pizza dough and mozzarella cheese. The high protein-to-carb ratio makes these surprisingly satisfying as a complete meal. Pair with a green salad or vegetable side, and you’ve got a balanced dinner that actually keeps you full for hours rather than hungry 90 minutes later. The olive oil provides heart-healthy monounsaturated fats, and the whole wheat varieties of pizza dough (if you choose them) boost fiber and micronutrient density significantly.
Serve It With
Calzones are honestly satisfying enough to stand alone, but I always serve them with something cool and bright to cut through the richness. A crisp green salad with a lemon vinaigrette is my go-to, or if you’re feeding a crowd and want to expand the spread, consider pairing with sides that complement the Italian flavors. I also love serving these with a simple marinara sauce for dipping if anyone wants extra sauce—and let’s be honest, who doesn’t?
- Simple green salad with lemon vinaigrette – fresh greens, lemon juice, olive oil, and garlic create brightness that balances the richness beautifully
- Roasted broccoli with garlic – toss with olive oil and minced garlic, roast at 425°F for 15 minutes while your calzones bake for synchronized timing
- Warm marinara for dipping – heat your pizza sauce with a drizzle of olive oil and fresh basil for an extra flavor layer that everyone loves
- Breadmaker Rolls – if you’re serving a crowd and want carbs beyond the calzone, these easy rolls are ready in 90 minutes and pair beautifully

Calzone Pizza Dough Recipe
Ingredients
Method
- Set your oven to 425°F and line a large baking sheet with parchment paper. This temperature is the sweet spot—hot enough to create a gorgeous, crispy exterior without burning the dough before the interior cooks through. Parchment paper prevents sticking and gives you the cleanest release. While the oven preheats, gather all your fillings in small bowls within arm's reach—mise en place is a professional move that prevents scrambling mid-assembly.
- Cut your pizza dough into 4 equal portions and gently roll each into a thin circle about ¼ inch thick. Work on a lightly floured surface to prevent sticking. If your dough springs back (which means it's developing gluten beautifully), let it rest for 2-3 minutes, then continue rolling. Think pizza-thin, not bread-thick—this texture is what creates that perfect crispy-outside, tender-inside result that makes these so irresistible.
- On one half of each dough circle, layer your fillings in this order: sauce, then onion, then green pepper, then pepperoni, and finally the shredded cheese on top. This layering method is intentional—the sauce creates moisture on the bottom, vegetables in the middle, protein next, and cheese on top to seal everything together as it melts. Keep all fillings about ½ inch away from the edges; this rim of bare dough is essential for creating a sealed, crimped edge that holds everything inside during baking.
- Fold the unfilled half of dough over the filling, then use your fingertips or a fork to crimp the edges tightly together. This is your seal—crimp firmly enough that nothing escapes during baking, but don't press so hard that you deflate the dough entirely. If you're using a fork, create a decorative pattern while you work; if you're using your fingers, make overlapping seal marks about ½ inch apart all the way around. This visual marker also tells you where your seal is strongest.
- Cut 2-3 small slits into the top of each calzone using a sharp knife, then brush the entire surface with 1 tablespoon of olive oil. These vents release steam during baking and prevent the dough from puffing up like a balloon. The olive oil brushing creates that gorgeous golden-brown exterior we're all after—it's the difference between a pale, sad calzone and a restaurant-quality beauty. Don't skip this step; the oil is doing real work here, creating texture and color.
- Transfer your calzones to the prepared baking sheet and bake for 14-16 minutes until the dough is fully cooked through and the exterior is deep golden brown. Start checking at 14 minutes—ovens vary, and you want to catch them right at the peak of golden, not burnt. The dough should feel set and slightly crispy when you tap the top. Remove from the oven and let rest for 2 minutes before serving (I know it's hard to wait, but this allows the inside to set slightly so fillings don't explode everywhere when you bite in).

Notes
FAQs
Can I make the dough from scratch instead of using store-bought?
Absolutely! Check out my Calzone Dough Recipe for a detailed walkthrough. The timing is similar—about 30 minutes total if you factor in rising—so you can do a completely from-scratch version in the same timeframe as this recipe.
Why does my dough spring back when I try to roll it?
That’s gluten developing—it’s actually a sign your dough is healthy and strong. Just let it rest for 2-3 minutes between rolling attempts. The dough will relax, and you’ll be able to roll it thinner without resistance. Patience creates better texture.
Can I make these ahead and freeze them before baking?
Yes! After assembly and crimping, freeze unbaked calzones on a baking sheet for 2 hours until solid, then transfer to a freezer bag for up to 3 months. Bake directly from frozen for 18-20 minutes. Add about 2-3 minutes to the baking time, and brush with oil just before baking.
What temperature should my oven be, and why does it matter?
425°F is the sweet spot. It’s hot enough to set the exterior and create browning within 15 minutes while the interior cooks through without the bottom burning. If your oven runs hot or cold, check at 13 minutes and adjust the timing accordingly. An oven thermometer (less than $15) is the most underrated tool for foolproof results.
How do I know when they’re done baking?
The dough should be deep golden brown (not pale, not burnt), the top should feel set and slightly crispy when you tap it, and you should see no wet dough at the seams. If the top looks golden but the seams look damp, give it another minute or two. You’ll recognize perfection when you see it—it looks restaurant-quality.
Can I add fresh vegetables without precooking them?
Most vegetables are fine raw—peppers, onions, mushrooms, and spinach all work beautifully. However, if you’re adding watery vegetables like fresh tomatoes or zucchini, pat them dry with paper towels first to prevent excess moisture that could make the dough soggy. Harder vegetables like broccoli or carrots should be either thinly sliced or lightly pre-cooked.
Why is my cheese not melting properly?
Check your oven temperature with an oven thermometer—if it’s running cool, cheese won’t melt. Also, make sure you’re using freshly shredded mozzarella (not pre-shredded, which has anti-caking agents that interfere with melting). Finally, don’t overfill; too much cold filling straight from the fridge can insulate the cheese and prevent proper melting in 15 minutes.
More Quick Recipes You’ll Love
- Chicken Alfredo Bake Recipe – creamy, indulgent comfort food that comes together in one pan and feels fancy but takes 40 minutes
- my weeknight pasta – pure cheesy comfort that family loves and you can make ahead for busy weeks
- Lahmacun Turkish Flatbread Recipe – another stuffed flatbread option with completely different flavors if you want to branch out from Italian
This calzone recipe is going to become your secret weapon for impressive weeknight dinners that feel special but come together faster than ordering takeout. Your family will ask for these constantly, your friends will demand the recipe, and you’ll have foolproof results every single time because we’ve troubleshot every potential issue. Make it tonight, make it next week, freeze a batch for next month. Cook with confidence!