
Ingredients
Method
Step 1: Prepare Your Aioli First (Do This Up to 4 Hours Ahead)
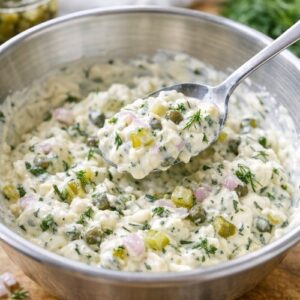
- In a medium mixing bowl, combine your mayonnaise with the minced dill pickles, shallots, capers, and fresh dill. This is where I need you to be generous with the fresh dill—dried herbs create a completely different, dusty flavor. Stir in the Dijon mustard and fresh lemon juice. Taste carefully, then add salt to your preference. Remember, the pickles already contribute saltiness, so start with that ⅛ teaspoon and adjust upward. Here's my professional tip: make this aioli first and refrigerate it. The flavors develop and marry together beautifully over even just 30 minutes, and it's one less thing to manage when the fish hits the pan. This is smart meal prep strategy—you're building in a buffer that actually improves your final dish.
Step 2: Create Your Spiced Coating
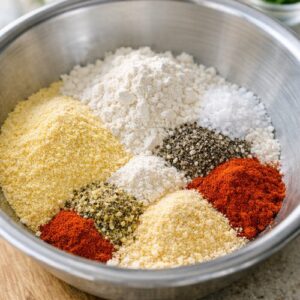
- Combine the fine cornmeal, all-purpose flour, 2½ teaspoons kosher salt, black pepper, smoked paprika, garlic powder, lemon pepper, and cayenne pepper in a wide, shallow bowl. Whisk these together for at least 30 seconds—this distributes the spices evenly instead of having clumps of paprika in some bites and none in others. I cannot stress this enough: uneven seasoning is the #1 complaint I hear from people who say their catfish was "bland." Pro move: set this bowl on a paper towel to catch any inevitable spills, and position it right next to where you'll be breading the fish. Organization matters when you're working with wet fish and dry coatings.
Step 3: Prepare Your Egg Wash Correctly
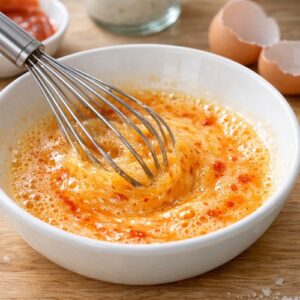
- In a shallow bowl, crack your eggs and whisk them vigorously with the hot sauce. This isn't just beating eggs—you're creating an emulsion that helps the coating stick evenly. Whisking for a full minute ensures the whites and yolks are completely integrated and the hot sauce is distributed throughout. The hot sauce does double duty: it adds subtle tang that prevents the coating from tasting one-dimensional, and it helps the egg wash flow more smoothly onto the fish.
Step 4: Pat Your Fish Completely Dry
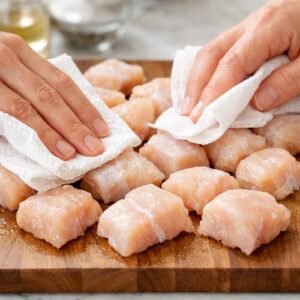
- This is non-negotiable. Take your catfish nuggets and pat them thoroughly with paper towels until they're completely dry. Any moisture on the surface will prevent the egg wash from adhering properly, which means your coating will fall off during cooking. Do not skip this step. I know it seems fussy, but this is the difference between a crispy nugget and one that's patchy and uneven. If your catfish is very wet straight from the package, let it sit on paper towels for a few minutes while you're setting up your other ingredients. The extra drying time pays dividends.
Step 5: Bread Your Fish Using the Three-Bowl Method
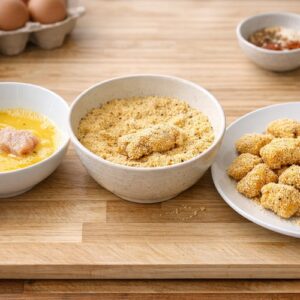
- Set up your breading station with three bowls in a line: the egg wash, the spiced cornmeal mixture, and an empty plate for the breaded nuggets. Take one nugget, dip it into the egg wash, ensuring it's completely coated on all sides. Lift it straight up and let excess egg wash drip back into the bowl—you want coating, not a thick layer of wet egg. Immediately place it into the cornmeal mixture. Using your dry hand (not the one that touched the egg), toss the nugget gently in the spiced coating, pressing lightly so it adheres but not so hard that you compress the fish. The key word is "press," not "mash." Flip it once, press the other side, then transfer to your waiting plate. The entire process for each nugget should take about 15 seconds. Here's something that separates good cooks from great ones: let your breaded nuggets rest on the plate for 5-10 minutes before cooking. This allows the coating to set slightly, which means it stays on during the pan-searing instead of sliding off. I learned this from my grandmother—she called it "letting the bread take"—and it's absolutely true.
Step 6: Heat Your Skillet Properly
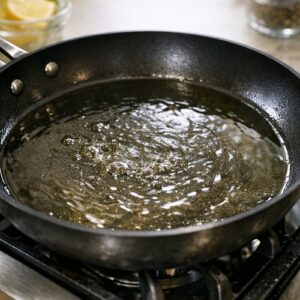
- This is where many people go wrong. Place a large skillet over medium-high heat and add your neutral oil. Wait for the oil to shim—that's when you see subtle waves across the surface, not when it's smoking. To test readiness, drop a tiny piece of the cornmeal mixture into the oil. It should sizzle immediately and float gently. If it sinks, the oil isn't hot enough. If it burns immediately, your heat is too high. The medium-high temperature is crucial. Too low and your coating absorbs oil instead of crisping. Too high and the outside burns before the inside cooks through. You want that sweet spot where the Maillard reaction creates golden color in 2-3 minutes per side.
Step 7: Pan-Sear in Batches (This Is Important)
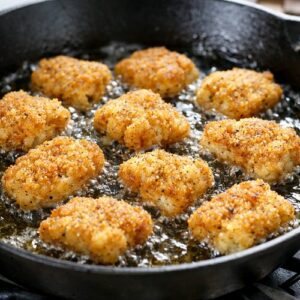
- Carefully place your breaded nuggets into the hot oil, working in a single layer—do not crowd the pan. This is the mistake that creates steaming instead of searing. Depending on your skillet size, you might cook 6-8 nuggets per batch. Leave space around each piece so heat circulates freely. Cook without moving them for 2-3 minutes, until the bottom is deep golden brown. You want to resist the urge to flip constantly—let that coating get properly crispy. Flip once and cook another 2-3 minutes until the second side is equally golden. Transfer finished nuggets to a paper-towel-lined plate to drain excess oil. This is crucial for maintaining that crispy exterior. Between batches, briefly wipe out any browned bits with a paper towel—these bits can burn and give off-flavors to the next batch.
Step 8: Serve Immediately While Crispy
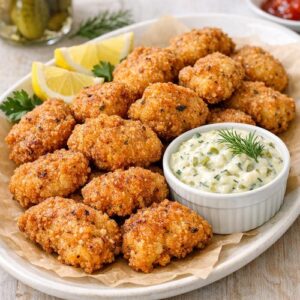
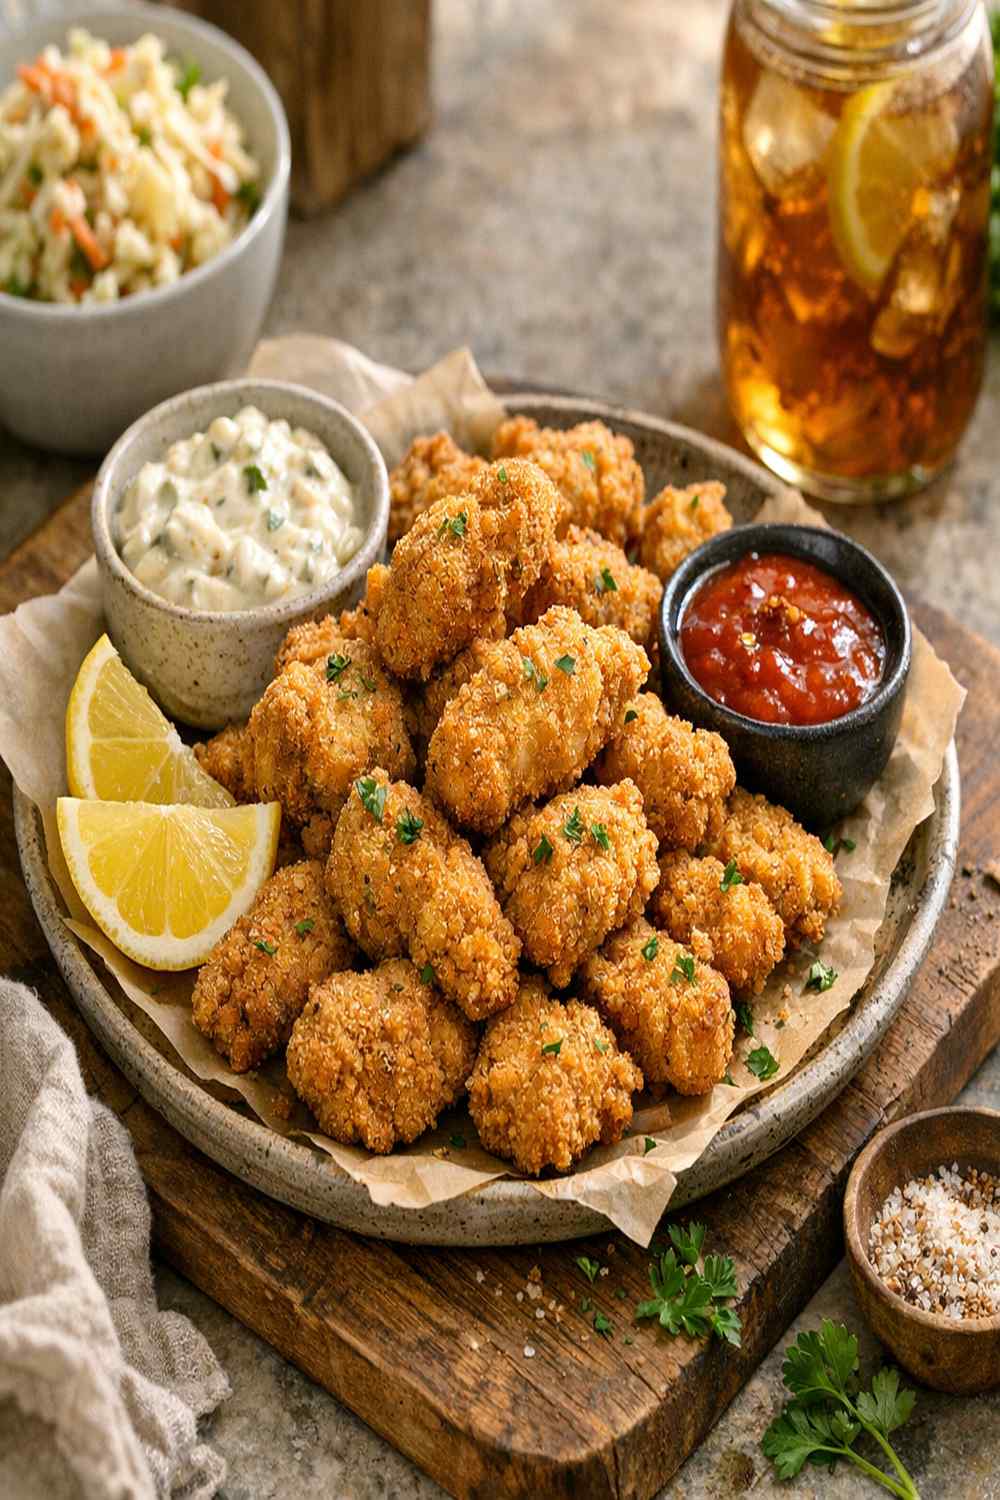
- Arrange your golden nuggets on a serving platter and serve immediately with your chilled dill pickle aioli alongside. The contrast between the warm, crispy exterior and cool, creamy aioli is part of what makes this dish so special. If you must wait, keep finished nuggets in a warm oven (200°F) while you finish cooking, but understand that the longer they sit, the more they'll soften as steam escapes and condenses on the surface.